Cards

About Us

Showing posts with label Christmas. Show all posts

Tuesday, October 12, 2010

Card Night!

I got together with a couple of girlfriends for a card night last week.  We certainly have a good time when we do this!  They humor me in my home-life rantings. We sympathize over pregnancies--the belly aches thereof and excitement of adding another bundle of joy to the family. There is usually some mention of husbands in the conversation. Giggles. Rolling of eyes. Laughter. And then the "ooohs and aaahhs" as the cards come together. 

The theme this time was seasonal miscellaneous.  That meant the sky was the limit!

Here is Rebecca's autumn card.  I'm so glad she used the SYI leaf silhouette! It is a favorite and I was hoping to find a good way to use it.  She also taught us a couple of fun distressing techniques. Thanks Rebecca!


My Christmas card: (the outside) I was thinking of New York City when I created this card.  Modern, weathered, yet traditional.  I don't know if I captured it, but I certainly put in plenty of elements!
The inside.

Rebecca's Halloween card. I liked her tri-fold idea and how she brought it together with the sleeve.  My little girl liked all the sparkles! It seems I make a Halloween card at least once a year and I can see this one will work perfectly! (That is, if I can muster up giving it away!)


Both of Katrina's cards are so elegant!  I would love to make a hundred of these and give them to all my dear friends and family.
The pearls in the deer's antlers were so pretty!
Here is Katrina's second card. I have a difficult time deciding which one I like better. This one is very classy too!  It was my first time using fabric other than ribbon in a card and I fell in love immediately.


Here is my second card. I went with an autumn theme and really wanted to learn something new. This particular technique is called "Iris Folding" It was my first time doing it and I definitely learned a few things along the way.  I will post a future blog with a tutorial to show you how to do it.  Unfortunately, I ran out of time when I was preparing for this card, so I feel like it is missing elements, but nonetheless, it was fun to try! (Thank you to my sweet friends who humored me with this card!)
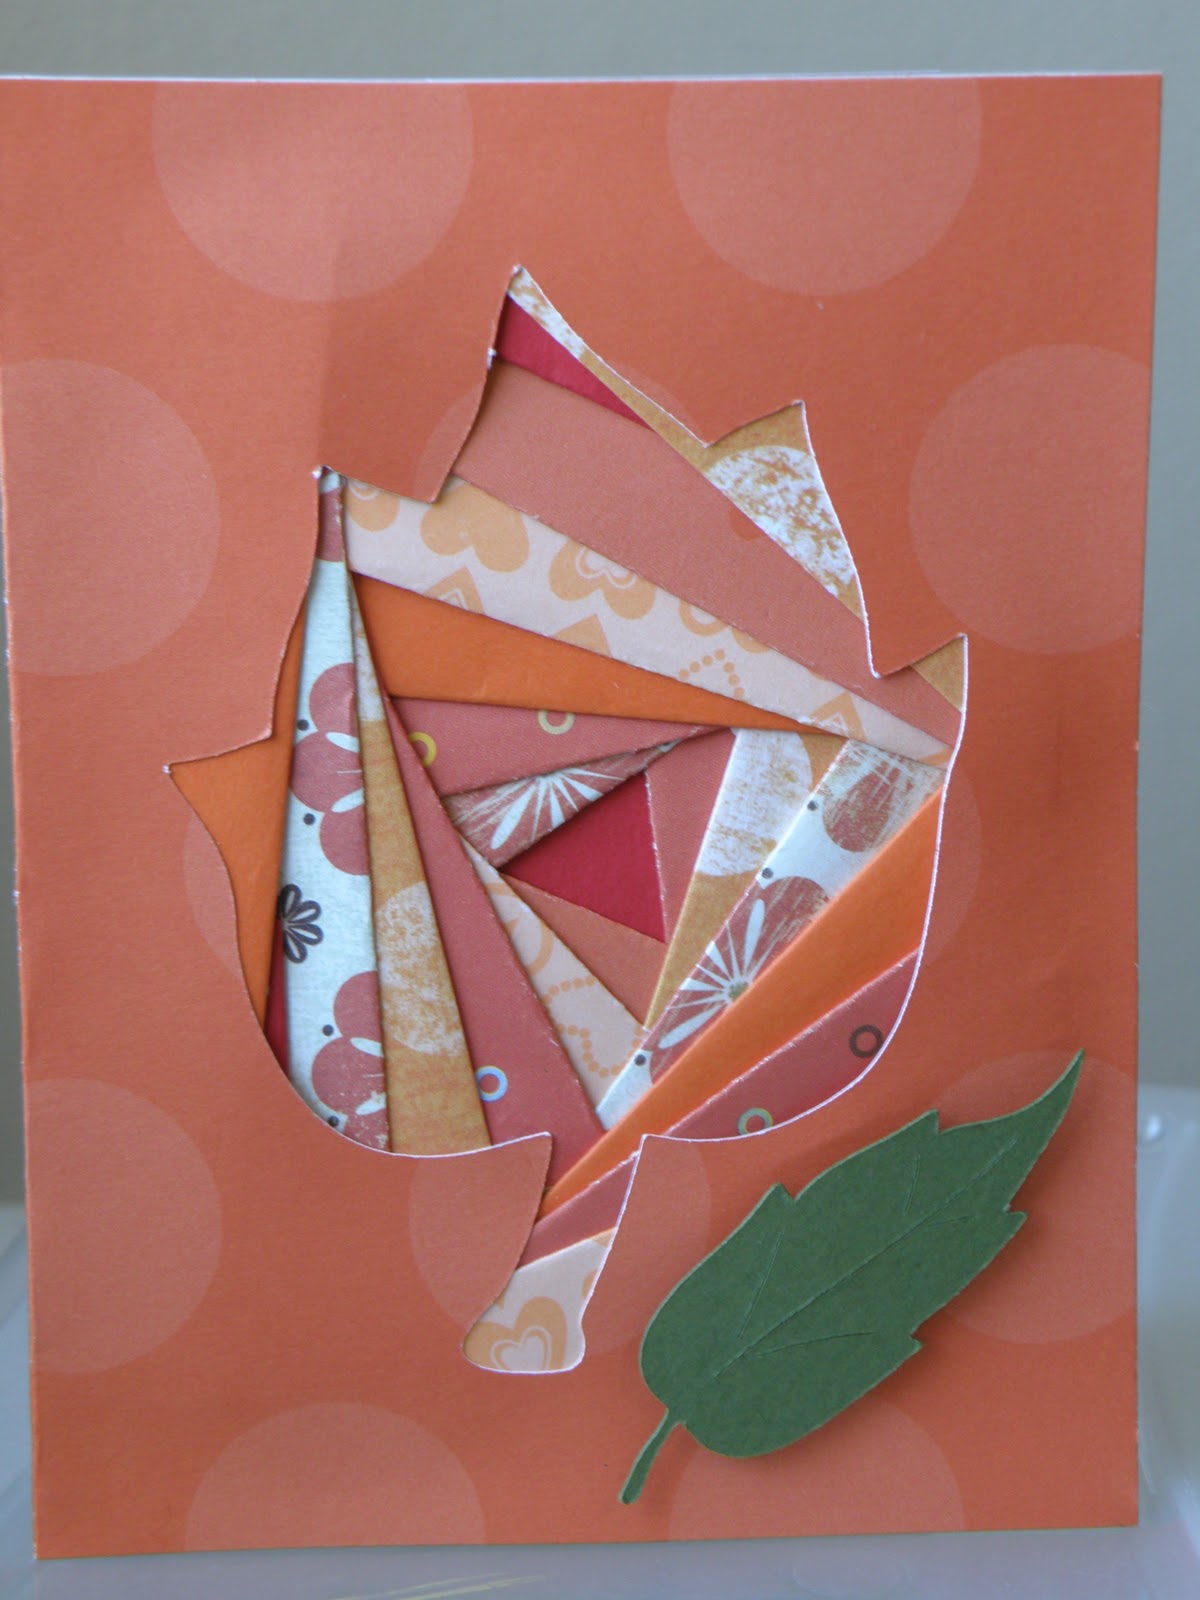
The inside.

Sunday, January 31, 2010

Gift set

I have the sweetest neighbor.  She's so good to always have a gift for each of my children for the holidays. I've been wanting to do a little gift set of homemade cards for her for sometime now.  While I was preparing for my son's Kindergarten Christmas party, on a whim I decided to make some gift cards for his two teachers. While I was at it, I made some for my neighbor too.  They are pretty simple (I've been doing a lot of "simple" being 9 months pregnant.), but I think they turned out nicely.

Christmas: Cuttlebug embossing folders. Joys of the Season cart for the gift.

Birthday: I did two of these. So you will see two different fronts, but the inside was the same for both.


Baby: Cuttlebug embossing folders. New Arrivals for the buggie. I did one each of blue and pink for these.


Christmas Thank You


I made a whole slew of these as "thank yous" for some very talented people at church. They helped with the Christmas party, so my card went along with the Holiday season. The front (top) was cut with the card feature on Joys of the Season cart. The embossing is a Cuttlebug folder, The inside, (below) has the quote pasted on top of the cutout from the front.

Christmas Class Party

All 24 kindergarteners received one of these festive holiday treat bags at my son's Christmas class party..  The tree was cut 4" I believe from Stretch Your Imagination.

Since I knew they would just get devoured, then thrown out, I didn't put a lot of detail into them.  I did do a bit more with a two-toned sillouette look for the teacher.


The party was fun and the kids loved their bags!

Tuesday, December 15, 2009

Advent Calendar

My eye caught some fun Advent Calendars last year and I've been itching all year to do this.  I was happy with the way it turned out. I am alwasy looking for teaching ideas with my kids and this was wonderful way to create great family time and add some of the true Christmas spirit into the season.


I cut the bag out in SCAL.  Here's the link to the file. The nice thing about this bag is that there is no glue involved.  When the Christmas season is over, I can just unfold the bags and they will store flat! With as much work as I put into them, this was a big plus for me.


All the numbers come from the Celebrations cart. I actually Mod Podged each one to sturdy them a bit and give them a nice finish. The paper is from a holiday paper pack from Hobby Lobby.


In each bag is a little red piece of paper.   Every other day, there is also a little green piece of paper.  The red papers tells the activity for the day. The green ones tell which part of the Christmas story we will learn about that day.  Some of the green papers coincide with the red ones.  I was particular about which activities landed on certain days since I don't always have a hubby in the evenings.  A lot of the activities we do when my oldest boy gets home from school. 

I swipped some of my ideas from other websites online.  Then others came from our own family traditions, or things I have been wanting to do. 

The kids have loved doing this advent calendar!  Even my husband gets excited about what each activity is going to be.  I am so glad I made it!

Sunday, October 25, 2009

Sing Your Heart Out!


I belong to a card club and our Stampin Up Demonstrator, Cheryl Curtis designed this card and we all made it. I have to give all the credit to Cheryl, but note that it is all made from punches, mostly ovals. Pretty cute huh? Are you all ready to sing your heart out for Christmas?

Monday, October 19, 2009

Hats Off!


Here is a thank you card I made for a Christmas gift I received.